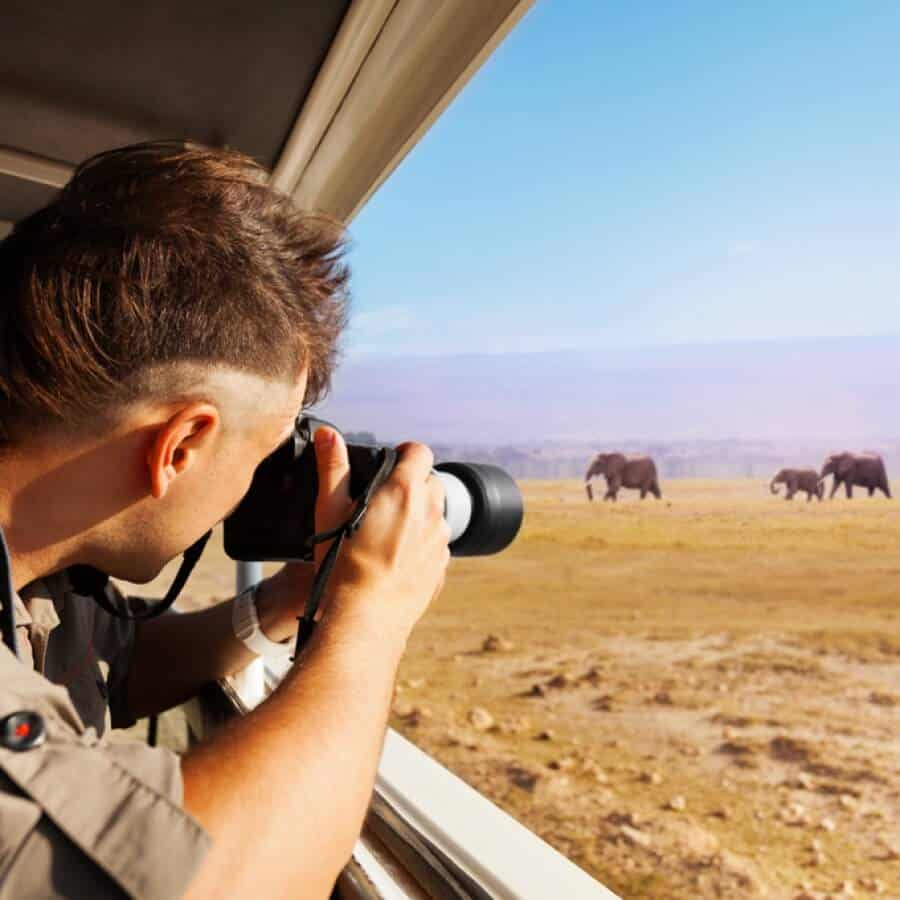
This article is written for aspiring wildlife photographers. In 2013, Leigh Woods, Project Manager at Youth Time International Movement packed up the comforts of a corporate lifestyle to pursue his passion. From the vast African savannahs to the dense jungles of Sri Lanka, he has travelled the globe in pursuit of some the most iconic animals to inhabit the planet. During his experience, he has captured thousands of wildlife images documenting species such as the elusive Asian leopard, the endangered mountain gorilla, and the ocean’s apex predator, the great white shark. In this article, Leigh provides insight into how to build a portfolio of beautiful wildlife photographs on a modest budget.
For as long as I can remember I have been fascinated by wildlife and the natural world. As a child, I frequently fantasised about epic safari adventures and always envisioned that one day I might work with animals.
During my mid-twenties, I developed a keen interest in photography. By merging my two passions in life, the ideal profession becomes quite clear. But money is often the greatest obstacle for those wishing to pursue a career in wildlife photography. Firstly, one has to fork out for all of the camera equipment and perhaps even a beginner’s photography course to learn the basics. Continuous advances in technology also mean that in order to keep up with the competition, you may well need to regularly invest in new gadgetry. Once you have your medley of photographic devices at hand, you’ll then have to part with your hard earned cash and hop on a flight bound for the Serengeti, or perhaps the Okavango Delta if you prefer. That’s already a small fortune you’re going to have to kiss goodbye, but you’d be a fool for thinking it stops there. There’s also the expense of photo editing software and marketing to consider if you plan on going pro.

Figure 1: Male Lion in South Africa using AV Mode on Canon EOS Rebel T3i with 55-250mm lens.
It has been almost four years since I made the decision to pack up the corporate lifestyle and the comforts that came with it in order to pursue my dream. Time and experience have taught me that achieving my goal isn’t just going to happen overnight. In terms of career, rarely does anything good come to those who haven’t worked hard for it. Persistence is key, and I’ve learned that one needs to be both stubborn and resilient to make it in this highly competitive industry.
Despite not being able to call myself a professional wildlife photographer, I am happy to have a foundation in place from which to build from. Fortunately, I’ve managed to establish a portfolio of fairly high standard wildlife images that have led to exhibitions in various establishments without having to pay big bucks. I’d like to share how I’ve managed to do this over the past few years, so that those working with a tight budget can also get the ball rolling. And hey, if it doesn’t work out then at least you’re going to have one hell of an adventure!
To start off, get yourself a DSLR camera. Don’t buy into the fact you need to purchase state-of-the-art equipment to get great wildlife shots. Without a doubt, the more expensive cameras and lenses can help to achieve superior results, but there are a lot of photographers out there with all the gear and no idea. Some of the most creative photographers I’ve come across are using very basic equipment. All of my wildlife shots have been taken using entry level DSLR cameras and relatively cheap lenses. Most of them were captured using the very standard Canon Rebel T3i (600D) camera and a 55-250mm lens with image stabilizer.

Figure 2: Male leopard in Sri Lanka using Sports Mode on Canon EOS Rebel T3i with 55-250mm lens.
So with the camera issue out of the way, now let’s talk about how you can maximise your opportunities to build up a portfolio of stunning wildlife photos on a small budget.
From overlanding camping trips to luxurious five-star lodges, a wide range of itineraries and budgets are catered for with a large selection of tour operators and holiday packages to choose from. But unless you opt for a specialised photographic safari (which are incredibly expensive), expect your chances of capturing high-quality wildlife images to be limited. The average person will need to save up for an entire year to afford just one week on safari. Typically, your package will include a three-hour outing, twice a day. To sum that up, one week on safari might offer somewhere around 40 hours in which you could potentially capture hundreds of awe-inspiring wildlife shots. Unfortunately, however, it doesn’t always quite work out like that.
Expect to spend half of the allotted hours driving whilst looking for new animals, and when do you find them, don’t assume you’re guaranteed to get the picture perfect shots that you had initially envisioned. Your subjects are wild creatures after all, with the freedom to do as they please. A journey of giraffe won’t necessarily space themselves equally on a sunset horizon just because you’re expecting a handsome return on your investment. Other frustrating factors can include unfavourable lighting, poor vehicle positioning (good guides should be on top of this), and distracting surroundings. For your photo to really grab the viewers’ eye, the subject needs to pop out, and this can be hard to achieve when there is messy foliage or even other safari vehicles in shot. I once spent three days on safari in South Africa’s beautiful Kruger National Park and didn’t manage to get a single photo that I was happy with.
So here is the trick. Don’t shell out thousands for a safari vacation. Instead, follow in my footsteps and sign up for an FGASA (Field Guides Association of Southern Africa) accredited nature guiding course. Not only did it cost me far less money than a package holiday, but I got to spend every day on a beautiful big five game reserve for two whole months! Furthermore, I gained a wealth of knowledge and practical skills thanks to the comprehensive training programme, and was later rewarded with a professional nature guiding license to boot!

Figure 3: Mountain Gorilla in Rwanda using AV mode on Canon EOS Rebel T3i with 55-250mm lens
The course entailed a great deal of hard work and studying, but it also afforded me the opportunity to spend lengthy periods of time each day with magnificent animals including lions, elephants, rhinos, leopards, buffalo, giraffe, zebra, hippos and numerous species of antelope. The time spent with them provided plenty of opportunities for capturing some of my favourite photographs to date. Other perks of the programme included gaining certifications in first aid, rifle handling, and off-road driving. Throw in a course on wine tasting and it really was a no-brainer.
The biggest challenge for most people is determining how to negotiate two months out of work. The truth is, you might have to pack your job in. Chasing this dream requires vast amounts of time, effort, and sacrifice. The plus side is that your newfound skills can help open the door to further opportunities. Since obtaining my guiding license, I have led numerous safaris across southern and eastern Africa, which, in turn, has allowed me to further enhance my portfolio.
If you’re not willing to take the plunge, or perhaps you have other commitments, it’s worth mentioning that you don’t necessarily have to go on safari (or to Africa for that matter) to capture meritorious wildlife images. Large mammals make for pretty amazing subjects, but during the time I spent training to become a guide, my eyes were suddenly opened to the plethora of wildlife that surrounds us in our everyday lives. Birds and insects are fairly easy to find and often make for equally interesting subjects as the bigger animals you might discover in the great wilderness. Some of my best photographs are of wildlife I found in local parks and even my own back garden!

Figure 4: Northern double-collared sunbird in Nyungwe Forest using Sports Mode on Canon EOS Rebel T3i with 55-250mm lens
Camera tips:
- If you want to achieve top-notch images, you’ll first need to familiarise yourself with your camera and practice with the settings. I can’t stress highly enough how important it is to do this before you head out on your wildlife adventure. When I first started out, I missed the chance to gather some amazing shots of great white sharks breaching the ocean surface because I hadn’t yet learned how to adjust the camera’s settings for fast moving subjects. Weather, climate, time of day (i.e. lighting), and the surrounding environment make every scene unique, so you’ll need to have a good understanding of what your camera can offer, especially in terms of ISO, aperture, and shutter speed.
- One suggestion that I usually make to fellow amateurs (and many photographers will label this blasphemy) is to switch to sports mode (if the camera has this feature) at times when your vehicle is moving. I advise this because every now and again, an animal – particularly elusive species such as leopards – may appear suddenly and have vanished behind thick vegetation before you’ve had the chance to stop and adjust your settings. Sports mode will allow you to get a fairly clean shot of the fast moving subject even if you might have to compensate with a grainy background. If the animal does decide to stick around, you can always switch back to manual mode and adjust your settings accordingly. This approach is best followed in areas with thick bush and isn’t really necessary in biomes such as open savannah.
- For those who are still not confident using manual mode, I’d recommend using the aperture priority setting. Your camera’s sensors should focus on the main subject in the foreground, leaving the background with a blurred effect. By selecting the appropriate ISO to suit the environmental conditions, your subject will really come alive. Note that this mode works best when the subject is relatively still.
Editing tips:
- Rarely do photographs capture all of the elements that made the actual scene so special. It is therefore necessary to become accustomed with editing software in order to transform your images into breathtaking works of art.
- Play around with brightness, contrast, hues, and saturation to make your photograph all the more eye catching, and try to use similar settings throughout your whole portfolio as you begin to lock down your own signature style.
- If your photo features a particularly interesting subject, but something about the whole picture just doesn’t look quite right, try converting into black and white. One of the biggest causes of busy looking photos is often the periphery colours that don’t complement the main subject. As an example, you may have captured an incredible shot of an elephant in the open savannah, but a bright red car in the distance may draw too much attention and thus spoil the overall allure. If you happen to be well versed in Photoshop, you can always use the available tools to eliminate any unwanted features, but don’t go too crazy with image manipulation.
- Cropping can also play a major role in creating the perfect image as composition is extremely important. I can’t tell you how many images I initially looked over, but later found with a bit of clever cropping, a beautiful photograph was there all along.

Figure 5: Great white shark in Shark Alley using AV mode with Canon EOS Rebel T3i with 18-55mm lens
General tips:
- Maintain a high shutter speed as animals are usually on the move.
- Think about the background and how you will frame the subject.
- Focus on the eyes as it helps the viewer to connect with the subject.
- Take advantage of the more favourable light conditions around sunrise and sunset.
- Photograph from a low position as it gives the subject greater presence and the increased distance from the background helps it to pop out.
- Always bring at least one spare battery and make sure you have enough space on your SD card. There is nothing more frustrating than missing out at the perfect moment because you’ve run out of power or memory.
- Shoot in RAW to get higher quality images that are easier to edit.
- Use Adobe Lightroom or another sophisticated photo editing software for image processing.
- Only exhibit your best work. I have taken literally tens of thousands of wildlife photos and have condensed them down to the select few I display on my website.
Photos: Leigh Woods, title photo: Shutterstock
Support us!
All your donations will be used to pay the magazine’s journalists and to support the ongoing costs of maintaining the site.
Share this post
Interested in co-operating with us?
We are open to co-operation from writers and businesses alike. You can reach us on our email at cooperations@youthtimemag.com/magazine@youthtimemag.com and we will get back to you as quick as we can.
